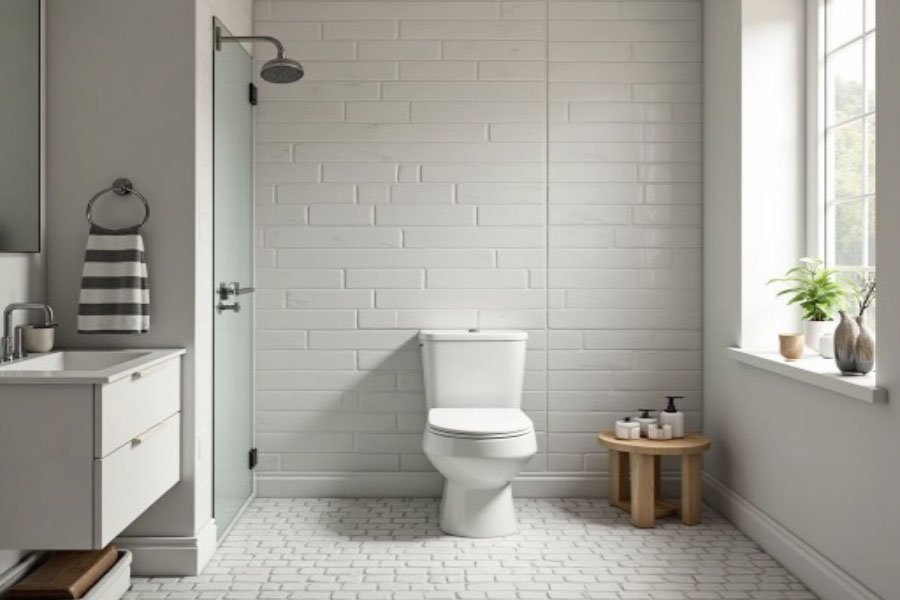
showerA shower is one of the most frequently used areas in any household. Over time, the tiles in your shower can start to show wear and tear, particularly in the grout. Grout, the material that fills the spaces between tiles, is essential in keeping tiles sealed, preventing water from seeping underneath and causing damage. However, it can deteriorate with use and exposure to water and humidity, leading to a variety of problems like mould, leaks, and unsightly stains. That’s where shower regrouting comes in—a process of removing the old, damaged grout and replacing it with fresh grout to restore both the aesthetics and functionality of your shower.
If you’re wondering why regrouting your shower is essential, here are the key benefits:
1. Prevents Water Damage
One of the most significant benefits of regrouting is its ability to prevent water damage. Grout acts as a sealant that keeps water from seeping into the walls behind your tiles. When grout becomes cracked or worn out, it creates small gaps that allow water to leak through. Over time, this can lead to moisture buildup behind the tiles, causing water damage, mold growth, and structural issues like wall rot. Regrouting helps create a watertight barrier, protecting your home from these potentially costly problems.
2. Eliminates Mold and Mildew Growth
Bathrooms are naturally moist environments, making them ideal breeding grounds for mold and mildew, particularly in the grout lines. Over time, these unsightly and potentially harmful substances can accumulate in old, porous grout, which can be hard to clean effectively. Regrouting replaces the old, mold-infested grout with fresh, clean grout, reducing the risk of further mold and mildew growth. This improves the hygiene of your bathroom and ensures a healthier environment for you and your family.
3. Improves Shower Aesthetics
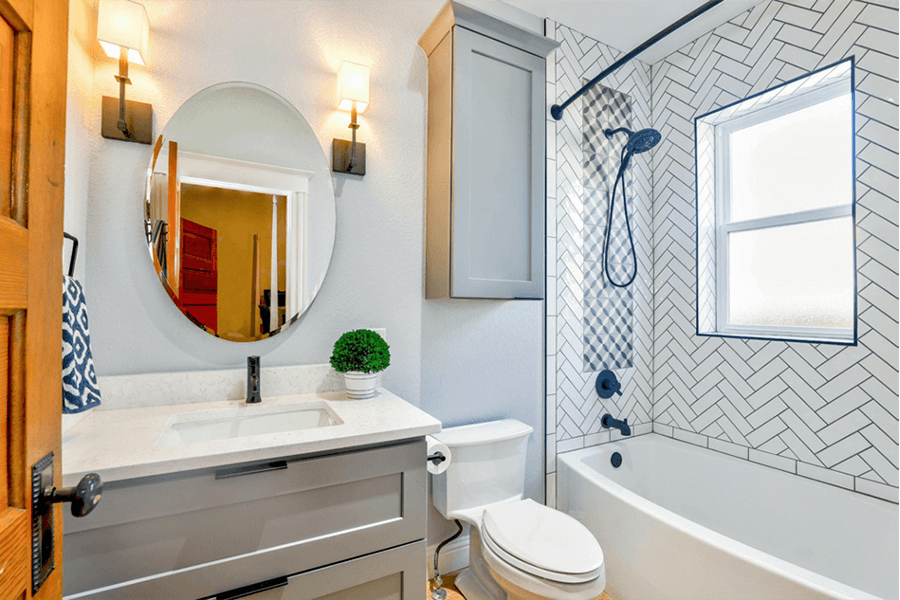
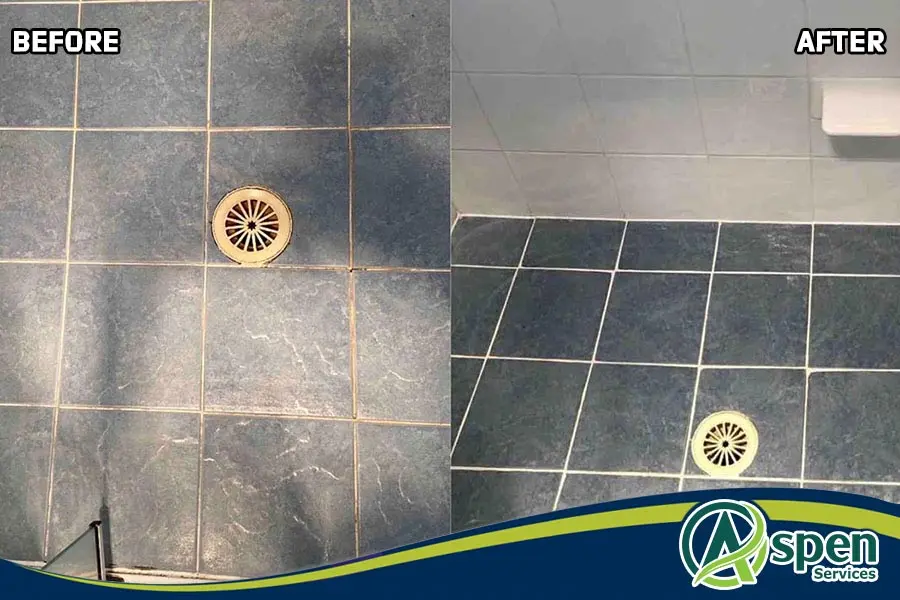
Old, discoloured grout can make even the most beautiful tiles look worn out and dingy. Regrouting your shower can significantly improve its appearance, restoring it to look like new. Whether you’re planning to sell your home or just want a bathroom refresh, regrouting is a cost-effective way to improve the look of your shower without the need for a full renovation. Fresh, clean grout can enhance the overall aesthetic appeal of your bathroom, making it more inviting and pleasant to use.
4. Increases Property Value
If you’re looking to sell your home in the near future, having a well-maintained bathroom can be a key selling point. Prospective buyers are likely to be turned off by a shower that shows signs of mold, water damage, or dirty grout. On the other hand, a freshly regrouted shower will give potential buyers confidence that the bathroom is well cared for and won’t require expensive repairs. As a result, regrouting can help increase the value of your home and make it more attractive to buyers.
5. Prolongs the Life of Your Tiles
Tiles are a long-term investment, but damaged grout can reduce their lifespan by allowing moisture to seep behind them, causing them to loosen or crack. Regrouting helps preserve the structural integrity of your tiles by sealing them and preventing water from damaging the underlying surface. By maintaining your tiles through regular regrouting, you’ll extend their lifespan and avoid the need for expensive tile replacements down the line.
6. Cost-Effective Maintenance
Compared to a full bathroom renovation or tile replacement, regrouting is a relatively affordable option. It allows you to refresh and restore the look of your bathroom without the high cost associated with more extensive renovations. If your tiles are in good condition but the grout is showing signs of wear, regrouting can save you the time, hassle, and expense of replacing the entire tiled surface.
7. Enhances Shower Safety
Worn-out grout can lead to uneven tiles or loose tiles, which can be a safety hazard, especially in a wet environment like the shower. These issues can create tripping hazards or cause tiles to break unexpectedly. Regrouting restores the stability of your tiled surfaces, ensuring that they are secure and safe to walk on. This is particularly important for families with children, elderly individuals, or anyone with mobility challenges.
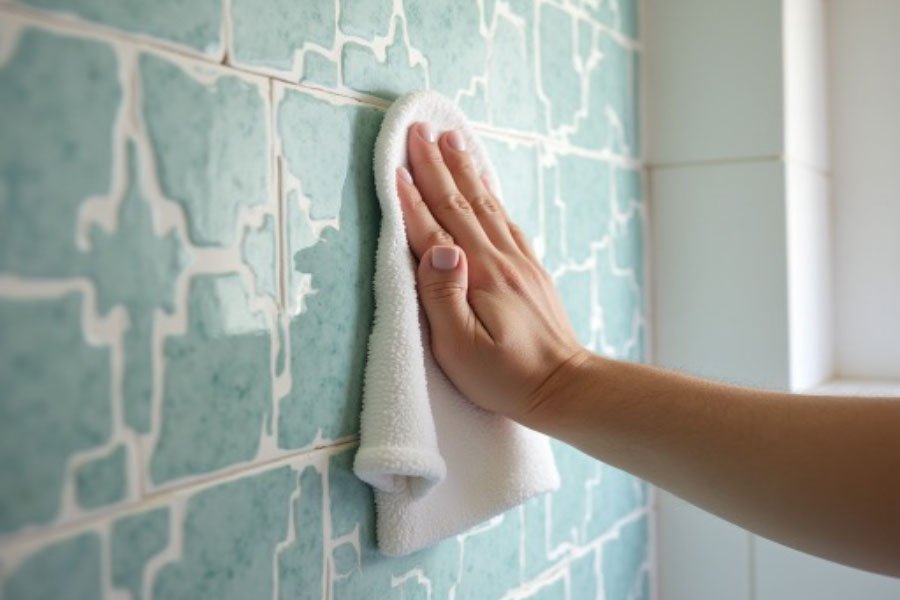
8. Easy to Maintain
Once your shower has been regrouted, it becomes much easier to maintain. Fresh grout is smoother and less porous than old, deteriorating grout, making it more resistant to dirt, stains, and mold. Routine cleaning will be easier and more effective, as the grout will not absorb moisture and debris as readily. This can help keep your bathroom looking clean and fresh with minimal effort.
Conclusion
Shower regrouting is a simple, cost-effective way to improve the longevity, safety, and appearance of your bathroom. Whether you’re dealing with cracked grout, mold, or just general wear and tear, regrouting can offer significant benefits that go beyond aesthetics. By preventing water damage, reducing mold growth, and increasing the lifespan of your tiles, regrouting is an essential maintenance task that helps protect your home and enhances your daily comfort.
If you’re noticing signs that your shower grout is deteriorating, consider contacting a professional regrouting service to bring your bathroom back to life. With the right care, your shower can remain a safe, beautiful, and functional space for years to come.