The ultimate concrete driveway cleaning and sealing guide

Concrete driveways are beautiful additions to any home, but they are also among the most difficult surfaces to clean and seal properly. Follow this concrete driveway cleaning and sealing guide to keep your driveway looking good as new even after years of sun exposure, rain, mud, and dirt.

Concrete Driveway Cleaning and Sealing Guide

1: Prepping the Surface

When you do your concrete driveway cleaning, it’s important to make sure that everything is prepared correctly. To prepare your driveway, first, remove any loose debris from your driveway using a broom or blower. Then remove the old sealant and any dirt, grease or grime that has built up over time.

2: Clean the Surface

Once the old sealant has been removed, wash the surface of the driveway thoroughly. You can use a pressure washer for larger areas, but most homeowners will want to rent a concrete cleaner from their local home improvement store instead. A concrete cleaner is a liquid that you apply to your driveway with a garden sprayer. The water quickly penetrates into cracks in the driveway and loosens embedded grime that’s trapped between the driveway surface and the overlying sealant. Most cleaners are heavy on detergent, which is why they can’t be used on most driveways until they’ve been stripped down to bare concrete. Once you apply the cleaner, let them soak on the surface for a few minutes then rinse them thoroughly with clean water.

3: Apply Sealer

Applying sealer to a concrete driveway is a crucial step in getting your driveway ready for winter. Like many other surfaces, a concrete driveway also should be sealed every year after it has been cleaned thoroughly. When you are applying sealer to your concrete driveway, here’s what you need to do: First, use a leaf blower or garden hose with a nozzle to clean off all debris from your driveway. Next, spread out an even layer of newspaper that will lie flat on top of your driveway; most sealers say that newspapers are one of the best materials for protecting areas from overspray. Now carefully spray on two coats of sealer; wait at least five minutes between each coat so that it can dry properly.

Conclusion

There are many different methods for concrete driveway cleaning and sealing. Here we shared some of our best recommendations. Hope you found this guide helpful! However, it will be easier if you find an expert who can do the cleaning and sealing of your concrete driveway for you. With proper care, your concrete driveway will give you many years of enjoyment. Once a year, take out time to do your concrete driveway cleaning and sealing in order to keep your driveway looking its best.

Anti-slip coatings for floors and slippery surfaces

An anti-slip coating ensures that your floors, stairs, and other surfaces are safe to walk on. Anti-slip coatings can be applied to concrete, brickwork, wood and any other hard material. There are many anti-slip coatings formulations to choose from depending on the type of surface you need to treat. Let’s learn how to apply anti-slip coatings to your floors and slippery surfaces.

1. What are the types of anti-slip coatings?

There are several types of anti-slip coatings you can use on your floors and slippery surfaces. To ensure you select an appropriate anti-slip coating, we recommend consulting a professional in your area. Epoxy coatings are one of the popular anti-slip coatings that have been shown to reduce fall risk by 50%. Polyurethane is another common option that is less expensive than epoxy but can still greatly improve safety. Finally, it’s also possible to apply various coatings or sealant options depending on what your flooring already looks like.

2. What does a floor coating do?

You might be thinking that slippery floors are simply a risk in everyday life. But if you work in an environment where safety is paramount, or you have young children who have just started walking, then a floor coating might be a good investment. Floor coatings come in many colours and textures. As long as it’s non-slip, it’s probably available. A good anti-slip coating can make all the difference when you’re trying to avoid falls. With anti-slip floor coating, you can enjoy a non-slip, safe walk in your properties.

3. What Does an Anti-Slip Floor Coating Look Like?

A good anti-slip floor coating or sealant is clear, odourless, and doesn’t stain. If you see any noticeable colour in your anti-slip coating, that means that you’re likely using a solvent-based product. The solvent will eat at most flooring materials so it’s important to avoid them entirely; if you want a safe coating for slippery floors or other surfaces (like concrete), opt for an epoxy or polyurethane material.

4. Why is Anti-Slip Flooring Important?

There are many health benefits of anti-slip coatings, especially in places where slippery floors are a real danger. Because slippery surfaces make it so much harder to maintain your balance, also, slips and falls can lead to painful injuries that take months or even years to heal. A slip on a slick floor also increases your risk of losing control of objects you’re carrying—or falling into dangerous machinery—which can cause equally serious injuries. To help prevent accidents, it’s essential that you properly seal and coat any slippery floors in your home.

5. Benefits of Anti-Slip Flooring

Before applying anti-slip flooring you should understand that it is a safety measure for your home or business. Anti-slip flooring helps prevent slips, trips and falls on smooth surfaces. You can apply anti-slip coatings to floors or walls where people might slip. Applying anti-slip coatings on slippery basement steps, garage floors, outdoor pool decks can be very helpful in preventing accidents due to slippery floors. These coatings are waterproof so they will not wash away in rain or snow.

Conclusion

Anti-slip coatings are usually required by building codes and regulations, especially in public spaces like hospitals, schools, office buildings, swimming pools, bars and restaurants. These anti-slip coatings are also recommended for use in your home as well. Anti-slipping coating is an easy way to improve safety without dramatically changing a space. It’s been said that prevention is better than cure – particularly when it comes to health and safety.
If you’re looking for professional anti-slip coatings services, opt for our services here: Aspen Anti-Slip Coatings Services.

How to clean and seal grout on the tile floor?

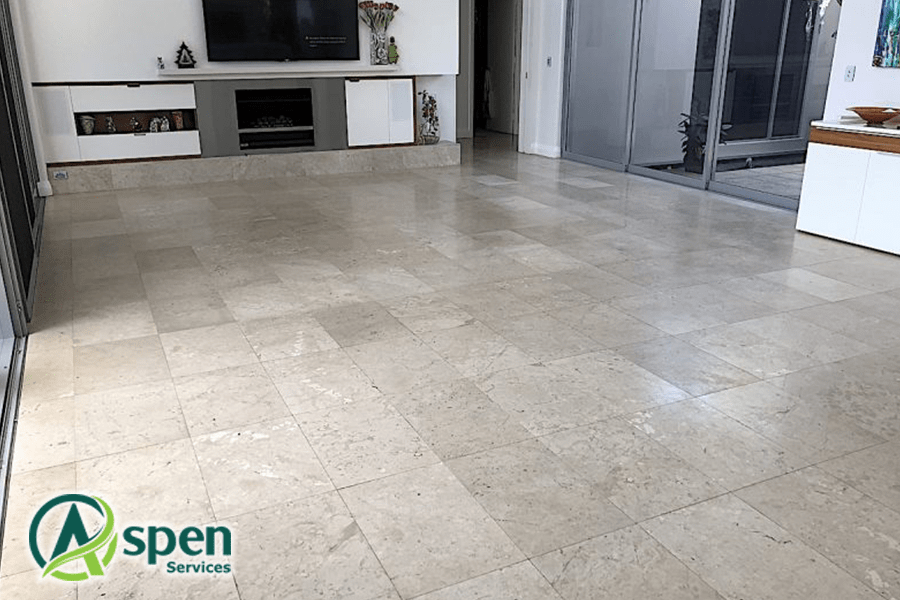
If you have tile floors, you should know how to do the cleaning and sealing for grout on the tile floor to keep your tile floors looking new and beautiful. Cleaning and sealing grout will not only help you keep your tiles protected but will also increase their lifespan. Besides, prevent dirt, dust, water stains and mold from accumulating on them. However, this process may be a bit difficult if you are inexperienced in the art of cleaning and sealing the grout on the tile floor.So, here are some tips that will help you with this process.

4 Steps for Grout Cleaning and Sealing On the Tile Floor

1. Collect Materials

Before you start cleaning your grout, you’ll need to collect a few supplies. You should pick up an extension pole, grout cleaning liquid or powder, brushes or scrubbing sponges, rubber gloves, a mask or respirator and clear silicone caulk. Make sure you buy high-quality materials because you don’t want any shortcuts when it comes to sealing your grout lines! If you are able to collect the right materials before starting, things will become easier for you in terms of removing stubborn stains and smoothing out rough edges around tiles. If there is dirt stuck deep within the crevices of your flooring, it will be more challenging for you to clean thoroughly with just water.

2. Remove Adhesive, Loose Dirt, Dust, and Debris

Once you’ve vacuumed, start by removing any adhesives, loose dirt, dust, or debris from your tile floors. If there’s lots of debris, you can use a hard bristle brush or even an old toothbrush. To remove scuff marks caused by dirt, try a cleaning sponge that has been moistened with warm water. For stubborn areas where dirt is trapped in grout lines, you can use a scrubbing pad like those used for dishes – just avoid getting too aggressive as you risk stripping away excess grout colour along with those hard-to-remove stains!

3. Apply a Solution

It’s best if you can find a solution that contains bleach, such as OxiClean or another brand of bleaching agent. You can also buy pre-mixed grout cleaner (just make sure to follow the instructions!) or make your own non-toxic mixture by combining one part hydrogen peroxide with four parts water. Apply one of these solutions by pouring it onto your sponge mop, and mopping it across your tile floor, then leaving it for about 15 minutes. After that, use a wet scrubber/brush (like an SOS pad) to scrub away at your grout. You’ll want a bucket or other similar container with warm water mixed with bleach sitting nearby your tile floor while you’re cleaning so that when you finish scrubbing one section of grout, you can dip right back into it and move on quickly.

4. Rinse With Water

Once all these processes are completed, rinse off with clean water. After rinsing thoroughly, be sure to let everything dry completely before sealing or applying wax. That’s all there is to it!

Conclusion

Hope you found these tips helpful! However, it will be easier if you find an expert who can do the tile cleaning and sealing for you. The tile floor is a great asset to your home. It is durable, attractive, and functional. With proper care, your tile floor will give you many years of enjoyment. Take time to clean out your tile’s grout lines once a year in order to keep your tile floors looking their best.

The ultimate guide to pavers cleaning and sealing

Pavers are great options when you’re looking to add extra space or improve aesthetics around your home, but they can be tricky to clean and seal properly. This ultimate guide will give you everything you need to know about pavers cleaning and sealing so that you can get the best results possible in the shortest amount of time.

4 Methods of Pavers Cleaning and Sealing

1. Remove Loose Debris from Your Pavers

The first step to pavers cleaning and sealing is removing loose debris. The easiest way to do that is to use a lawnmower or weed trimmer. Make sure you wear protective gear, such as eye protection and gloves, when using lawnmowers or weed trimmers around your pavers. Also, make sure there’s no loose debris in your garden hoses before beginning to clean your pavers. Finally, be sure that you turn off any automatic irrigation sprinklers before starting so you don’t damage them with high water pressure.

2. Hose Down Your Pavers

The best way to do pavers cleaning and sealing is to hose them down completely. Make sure your pavers are dry before you start cleaning so that your sealant has a maximum hold. Use a stiff broom to remove any dirt or debris stuck in between pavers. You can also use a pressure washer for more thorough cleaning of your pavers, but make sure not to use too much pressure as it may damage them. Rinse off with fresh water after using any chemicals, brushes or cleaners on your pavers.

3. Give Your Pavers A Deep Clean

The first step to giving your pavers a deep clean is to apply a degreaser. Often, these products will include high concentrations of lye or sodium hydroxide that help remove grease, oils, and other substances. If you’re using a pressure washer to clean your pavers, you can follow up with some gentle scrubbing before sealing them. After all, it isn’t any fun having to live in an unclean environment! To get rid of unwanted dirt, it may be worth trying vinegar. This natural cleaning solution comes in many forms and works wonders on stains. It can also cut through grime on stone surfaces like marble, travertine, limestone, slate, granite, porcelain tile and more. To ensure your paver flooring looks as good as new every time, make sure you let it dry thoroughly before walking across it again.

4. Apply Sealant to Your Pavers

After sweeping your pavers, use a pump sprayer to apply a sealant to your pavers. Pump sprayers are more effective at delivering products than a traditional hose-end sprayer because they produce more even coverage with less waste. When you’re done applying sealant, let it sit for five minutes to allow it to fully penetrate into your pavers. Finally, scrub your pavers with a long-handled deck brush or broom to make sure you’ve completely removed any excess sealant (this is an important step). All the pavers cleaning and sealing processes are done! You’re now ready to start enjoying your new patio!

Conclusion

Now, you’re ready to do your pavers cleaning and sealing, right? Don’t get in too big of a hurry. Take your time. A thorough prep job will go a long way toward helping you achieve optimal results with each application of pavers cleaning and sealing. So don’t rush through these steps or overlook anything that could be a potential cause for problems further down the road. Make sure you do all you can before applying a coat of sealer because that quality and durability are directly related to how well your pavers were cleaned and sealed.

Still, you’re looking for a professional pavers cleaning and sealing service provider, contact us here: Aspen Cleaning Services

Top 5 reasons to hire professional cleaning services

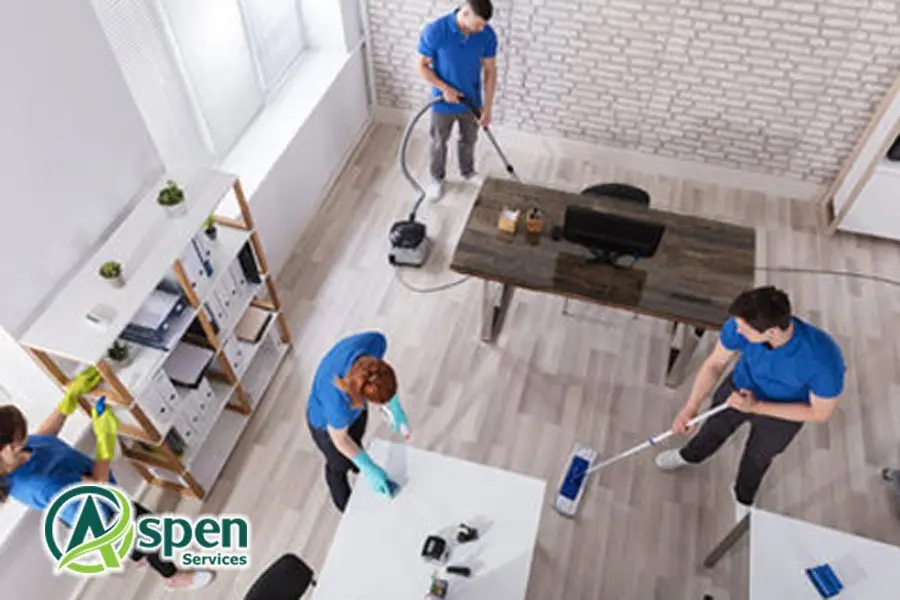
If you’re like most people, one of the last things you want to do when you come home from work is to clean your house or apartment from top to bottom. For many, hiring a cleaning service makes sense, even if it means dealing with the hassle of finding one and getting their schedule worked out. To help convince you of the benefits of hiring professionals to clean your home, here are five top reasons to hire professional cleaning services.

1) Cleaning Professionals Offer Peace of Mind

If you’re like many other people out there, cleaning your home probably isn’t your favorite pastime. It may be something you dislike enough that you put it off until a cleaning service can take care of it for you. Even if you do clean your home regularly, you likely don’t have time for more complicated chores such as scrubbing your bathroom tile or polishing your wooden floors on a regular basis. Having professionals to clean your home also means being able to relax and enjoy yourself without worrying about whether or not everything is being cleaned properly and thoroughly.

2) Cleaning Professionals Save You Time

Homeowners typically spend approximately 10 hours a week cleaning. If you clean your home weekly, over time you spend an average of 1,825 hours per year just on cleaning – that’s more than 100 days! The good news is that hiring professional cleaning services can save you time and energy. It doesn’t matter whether you prefer housekeepers or simply need a weekly service for keeping on top of things; either way, getting help with your housework gives you more time to relax and unwind at home. With quality commercial cleaners helping out around your home, there’s no reason not to enjoy relaxing times in your own space.

3) Cleaning Professionals Save You From Stress

Professional cleaning services are better equipped and more qualified. Therefore, if you have a hectic schedule, or just don’t feel like doing it yourself, hiring a professional makes sense. They can help you turn your place into one that is free of dust bunnies and cobwebs in no time. Plus, once you hire professionals, they’ll take care of all that back-breaking work on an ongoing basis so you won’t even have to think about it! You shouldn’t have to sacrifice clean for convenience. Also, it helps you to stay stress-free.

4) Every Detail Matters

Hiring a professional cleaning service is an easy way to ensure that your home gets all of the attention it deserves. Professional cleaners will arrive at your home and devote their undivided attention to giving you back a spotless space, which means every detail will be tended to, including those tough spots in hard-to-reach places. When you pay someone else, they’ll come equipped with all of their own supplies, so you won’t have to worry about figuring out what products work best on what surfaces. Plus, once you hire a professional service, you can rest assured that everything—including bedspreads and curtains—will be laundered for free of pet hair and dander.

5) You Deserve The Best Professional Cleaning Services

You work hard, and you deserve a clean home. Also, your family deserves a happy and healthy environment, free of dust and bacteria! If your home is unhealthy, everyone in your household suffers. Don’t settle for less than excellent – bring in professional cleaning services. they’ll leave your home spotless (or as close as it can be) every time! You have better things to do: Let professionals handle everything from scrubbing bathrooms to sweeping floors – or whatever else is on your clean. After all, you deserve the best professional cleaning services.

Conclusion

Here are five reasons why you should consider hiring professional cleaning services for your home. While most people can handle a deep-clean now and then, it’s not feasible for every household on a regular basis. Now that you know about some of the things a professional can do, don’t put it off any longer! Call us or visit our website today and see how we can help make your life easier.

3 Easy mould removal steps for ceilings

When it comes to removing mould from your ceilings, there are two options, you can remove the mould yourself or you can hire a professional mould removal service to do it for you. In this article, we’ll look at how you can remove the mould yourself. Follow this simple guide on how to remove mould from your ceilings and get back to enjoying the space in your home you never thought you’d see again!

1. Clean and Dehumidify

The first step in getting rid of mould is cleaning your ceiling. Scrub it with bleach or another cleanser meant for mould. It’s important that you use proper safety equipment and try not to breathe in too many airborne mould spores during cleaning. Afterwards, dehumidify your room for at least 72 hours—dehumidifiers work best at drying out moisture and killing potential mould spores. Drying out your room will make sure that any remaining water doesn’t become a new source of growth. If you can’t buy a professional-grade dehumidifier, leave a space heater on in your room until it has dried out completely (not just until the humidity level feels dry).

2. Clean Up Water Damage

When it comes to mould removal, prevention is key. Mould and mildew are two of nature’s most stubborn pests. They can spread through small openings and collect in hidden areas, often undetected by naked eyes. In order to get rid of mould successfully, you need a strong plan. WTO avoid a recurring problem, make sure that your space is well-ventilated and that water isn’t pooling on your ceiling (check your air conditioner drip pans, rain gutters and roof leaks). Follow these steps: (1) Stop any water leaks immediately; (2) remove all porous materials that have been touched by water; (3) dry all affected surfaces with fans and dehumidifiers; You don’t need an expensive restoration service to fix up water damage from mould – just follow these easy steps.

3. Use an Anti-Mould Paint

If you have a serious mould problem, start using anti-mould paint. Most paints will claim to be anti-mould however unless they are specifically designed for use in areas prone to mould growth, they won’t stand up very well. Always check with manufacturers before buying and make sure that your ceiling paint is suitable for use around damp areas. Whatever type of paint you buy, apply it according to their instructions and allow it time to dry completely before exposing it to moisture again or painting over it.

Conclusion

Mould removal is not a fun task but with these steps, it shouldn’t be too difficult. Remember, when trying to remove mould off your ceilings, wear appropriate safety equipment because some moulds are dangerous if inhaled. If you have any doubts, contact a professional mould removal service provider and don’t take matters into your own hands. Following these steps will ensure the safe removal of mould from your ceilings. These three mould removal steps apply no matter where in your home you need to remove mould from the ceilings.