Top 3 Benefits of Paver Sealing and Restoration

Do you notice that your paver material is beginning to fade or has experienced damage? Your pavers are a lifetime investment worth preserving. So you need to do paver sealing and restoration from time to time. For this purpose, you can opt for professional paver sealing and restoration service providers as well.

Today in this article, we will cover the benefits of paver sealing and restoration. Let’s get into the topic.

1. Protect Your Investment

There are a variety of benefits people will enjoy when they utilize paver sealing and restoration services. but the primary benefit is that your pavers will be resistant to any potential stains like rust, oil, dirt, and grime. Also, when you employ paver sealing and restoration professionals, they will prevent weed growth, mould or mildew development. Besides, the paver sealing process will counteract any ant or insect activity on your pavers as well. And, eliminating these nasty elements from your pavers will protect your pavers for the long term, so, your investment in the pavers also be protected as well.

2. Enhance the Look of Your Pavers

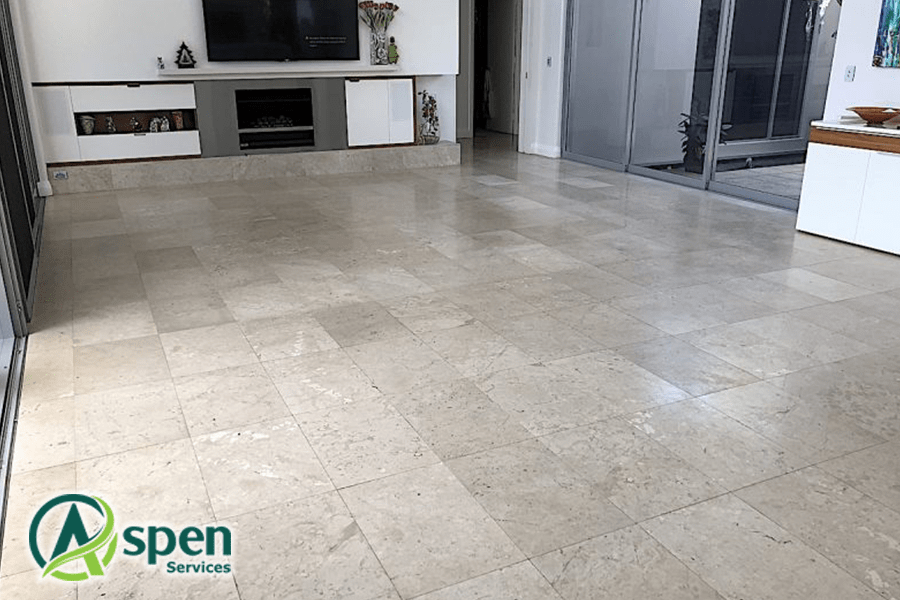
Paver sealing and restoration not only create cleaner, bacteria-free, long-lasting pavers, it will also create sleeker and pristine looking pavers as well. By opting for professional paver sealing services, you can prevent UV rays from fading your pavers’ natural colour and retain their original look. By undergoing the paver sealing and restoration process, your pavers will also experience an enhanced, natural-looking colour improvement as well.

3. Stabilize The Sand Between Your Pavers

Everybody knows that there are sand joints in between the pavers. When you do the paver sealing and restoration that will actually stabilize the sand between your pavers. So what that means is it’s hardened that sand in the joints and it helps keep it from washing out. So if you get heavy rains or do a light pressure washing, the sand, between your pavers won’t blow out. Also, sand stabilization will help with insect intrusion.

Conclusion

So, these are the top three benefits of paver sealing and restoration. If you have any questions, particularly about the paver protection, the colour enhancement, that sort of thing, feel free to ask them in the comments. We’re happy to answer them.

If you’re looking for a professional service provider, take a look at our sealing and restoration service page. You may find it helpful!

The ultimate guide to pavers cleaning and sealing

Pavers are great options when you’re looking to add extra space or improve aesthetics around your home, but they can be tricky to clean and seal properly. This ultimate guide will give you everything you need to know about pavers cleaning and sealing so that you can get the best results possible in the shortest amount of time.

4 Methods of Pavers Cleaning and Sealing

1. Remove Loose Debris from Your Pavers

The first step to pavers cleaning and sealing is removing loose debris. The easiest way to do that is to use a lawnmower or weed trimmer. Make sure you wear protective gear, such as eye protection and gloves, when using lawnmowers or weed trimmers around your pavers. Also, make sure there’s no loose debris in your garden hoses before beginning to clean your pavers. Finally, be sure that you turn off any automatic irrigation sprinklers before starting so you don’t damage them with high water pressure.

2. Hose Down Your Pavers

The best way to do pavers cleaning and sealing is to hose them down completely. Make sure your pavers are dry before you start cleaning so that your sealant has a maximum hold. Use a stiff broom to remove any dirt or debris stuck in between pavers. You can also use a pressure washer for more thorough cleaning of your pavers, but make sure not to use too much pressure as it may damage them. Rinse off with fresh water after using any chemicals, brushes or cleaners on your pavers.

3. Give Your Pavers A Deep Clean

The first step to giving your pavers a deep clean is to apply a degreaser. Often, these products will include high concentrations of lye or sodium hydroxide that help remove grease, oils, and other substances. If you’re using a pressure washer to clean your pavers, you can follow up with some gentle scrubbing before sealing them. After all, it isn’t any fun having to live in an unclean environment! To get rid of unwanted dirt, it may be worth trying vinegar. This natural cleaning solution comes in many forms and works wonders on stains. It can also cut through grime on stone surfaces like marble, travertine, limestone, slate, granite, porcelain tile and more. To ensure your paver flooring looks as good as new every time, make sure you let it dry thoroughly before walking across it again.

4. Apply Sealant to Your Pavers

After sweeping your pavers, use a pump sprayer to apply a sealant to your pavers. Pump sprayers are more effective at delivering products than a traditional hose-end sprayer because they produce more even coverage with less waste. When you’re done applying sealant, let it sit for five minutes to allow it to fully penetrate into your pavers. Finally, scrub your pavers with a long-handled deck brush or broom to make sure you’ve completely removed any excess sealant (this is an important step). All the pavers cleaning and sealing processes are done! You’re now ready to start enjoying your new patio!

Conclusion

Now, you’re ready to do your pavers cleaning and sealing, right? Don’t get in too big of a hurry. Take your time. A thorough prep job will go a long way toward helping you achieve optimal results with each application of pavers cleaning and sealing. So don’t rush through these steps or overlook anything that could be a potential cause for problems further down the road. Make sure you do all you can before applying a coat of sealer because that quality and durability are directly related to how well your pavers were cleaned and sealed.

Still, you’re looking for a professional pavers cleaning and sealing service provider, contact us here: Aspen Cleaning Services